
Client: Intercorp Accelerator (2017)
Teaching how to experiment with the design process to a Peruvian Accelerator
My Role: Design Director
As a Design Director at IDEO, I work closely with teams to make digital products and services more useful, usable and delightful for the people they’re built for.
I also love experimenting with the design process to see how we can influence and optimize design outcomes. I’ve seen Design Thinking (as an approach to problem-solving) radically help teams get out of ruts and inspire a whole new product / service opportunity. At IDEO, we’ve run classic, week-long Design Sprints with great effect. But it’s not always the ideal format for all teams. We’re constantly coming up with new ideas to augment our process.
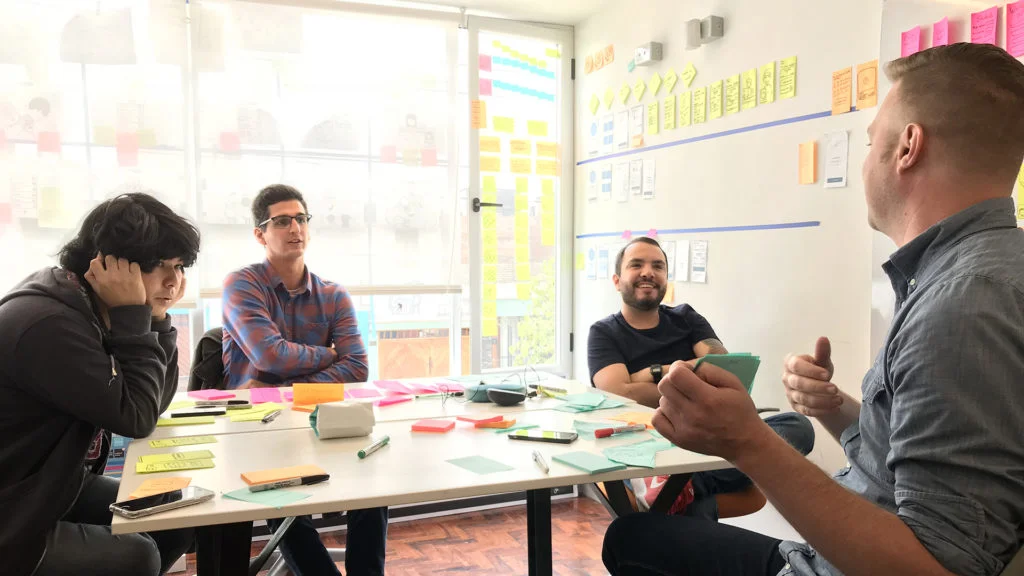
I was thrilled to bring some of these practices to Intercorp’s Accelerator program in Peru! In 2017, I jumped on a plane from SF to Lima and between stuffing my face with ceviche of all sorts, I spent time with with each of the three companies in the Accelerator running a Design Spike.
What is a Design Spike?
In agile development terminology, a spike is a task aimed at answering a question or gathering information in order to provide an answer or solution. We’ve translated this concept from development to design, wherein the team takes one and a half days to focus on a very specific UX design challenge and conceive and prototype multiple possible solutions for testing. As great designers, we do more than just gather information—we build to think!
As I sketched out the process for a Design Spike, I established clear ground rules:
The time must be focused and dedicated, not fragmented across the week. This allows us the ability to move fast without distractions.
The purpose is to boost the work to the next level through iteration and refinement, not to radically change the direction of the product.
Everyone participating in the Design Spike, from designers, product owners, and IDEO guides is working hands-on, sketching and designing. This is not about getting advice about design, it’s about learning through doing.
Right-sizing the Challenge
Since we had no intention of overhauling the total UX during the Design Spike, we needed to select challenges that were both narrow enough that we could create something meaningful by the end of the week, but also significant enough that the learnings could later scale across the broader product. Working with each company’s Product Owner, here’s where we landed with each team’s challenge:
UTP: For both students and mentors, how might we make matchmaking and scheduling a less burdensome and more enjoyable process?
Oechsle: How might the experience and interactions involved in seeing outfits and clothing combinations be so compelling that people will want to play with the app in their spare moments?
Interbank: With a focus on the dashboard, how might we give small business owners a greater sense of clarity and peace of mind as they go through the process of loan management and repayment?
With the challenges set, let the Design Spike begin!

Step 1: Frame the problem
We began by understanding the current state of the challenge, explorations the team had already tried, and the possible opportunities for improvement.
Step 2: Get inspired
Everyone on the team shared an example of something they found inspiring for the design. Some were analogous products or experiences, some were specific micro-interactions within a particular app. While each team member shared, everyone else furiously jotted notes on what was interesting about the inspiration.

Step 3: Get Tangible
Next, out came the Post-Its. With the notes we took as a starting point, everyone on the team took 10–15 minutes to sketch out a screen-based flow (one screen per Post-It) to address the challenge.

Step 4: Do it again
We set this first screen flow aside and did the same exercise again, this time attempting a radically different approach.

Step 5: Attempt an explanation
We posted all of these possible directions on the wall (or window) and took turns trying to explain someone else’s flows. This is part of the exercise because it highlights where a designer might not be sketching an idea clearly enough, or where in the flow moments might be missing. After each attempted explanation, the creator of the flow is allowed to clarify any confusion.
Step 6: Sketch again
Next, we took a moment to personally look over all of the flows and pick out others’ ideas we particularly liked. We went back to the Post-Its and sketched yet another, synthesized, flow.


Step 7: Identify promising directions
After sharing these revised flows, we took a step back to recognize 2–4 patterns and themes arising. What ideas were getting a lot of traction with the team and worth taking to the next level? We wrote each of these thematic directions on a Post-It. Then, each member assigned themselves to a direction, dividing into teams of 2–3 people to further pursue each idea at greater fidelity.
Step 8: Get specific
Each team, now had to sketch yet another flow to express their chosen direction. But this time, we need to be as specific and concrete as possible. Include every detail you can into your sketch. Don’t wireframe with horizontal lines representing a block of text. Write out the actual text. The purpose here is to think practically and in detail about the design solution.

Step 9: Go digital
With sketches in hand, each team opened up their design software and created screens to represent their flow. Often, one team member was sourcing assets while the other was compiling these assets into the design. To be clear, we were not creating black and white wireframes, but applying a visual style to the screens themselves. We want our designs to be as real and believable as possible.

Step 10: Show the thing!
Having screens only takes the idea so far, so every team used a piece of simple prototyping software (InVision, Marvel, Principle) to string their design into an interactive prototype. We ended each Design Spike by sharing back our prototypes amongst the broader product team.
Here is how some of our prototypes turned out, after just a day and a half with each team!


Going for Quantity
By my count, over the course of five days, the Accelerator generated a total 90 screen flows, sketched on Post-Its. These sketches were refined and revised into 12 interactive prototypes to be taken out into the field for research and learning with real users. Instead of speaking in the abstract about possible solutions, we can now put design explorations in the hand of people to get much richer feedback.

We burned through over 1000 Post-Its, through which we learned the value of creating possibilities over just talking about them. Thanks to everyone who brought your full energy and enthusiasm to this Design Spike!
“Amazing experience! Looking forward to do it all over again.”
“This is a perfect example of what true acceleration means… and a great tool to use whenever it’s time to bring ideas to light.”